Prusa i3 MK3S+ Guide
Step 1: Create 3D Model in Tinkercad
Step 2: Export from Tinkercad and import into PrusaSlicer
Step 3: Export g-code and copy to SD Card
Step 4: Print!
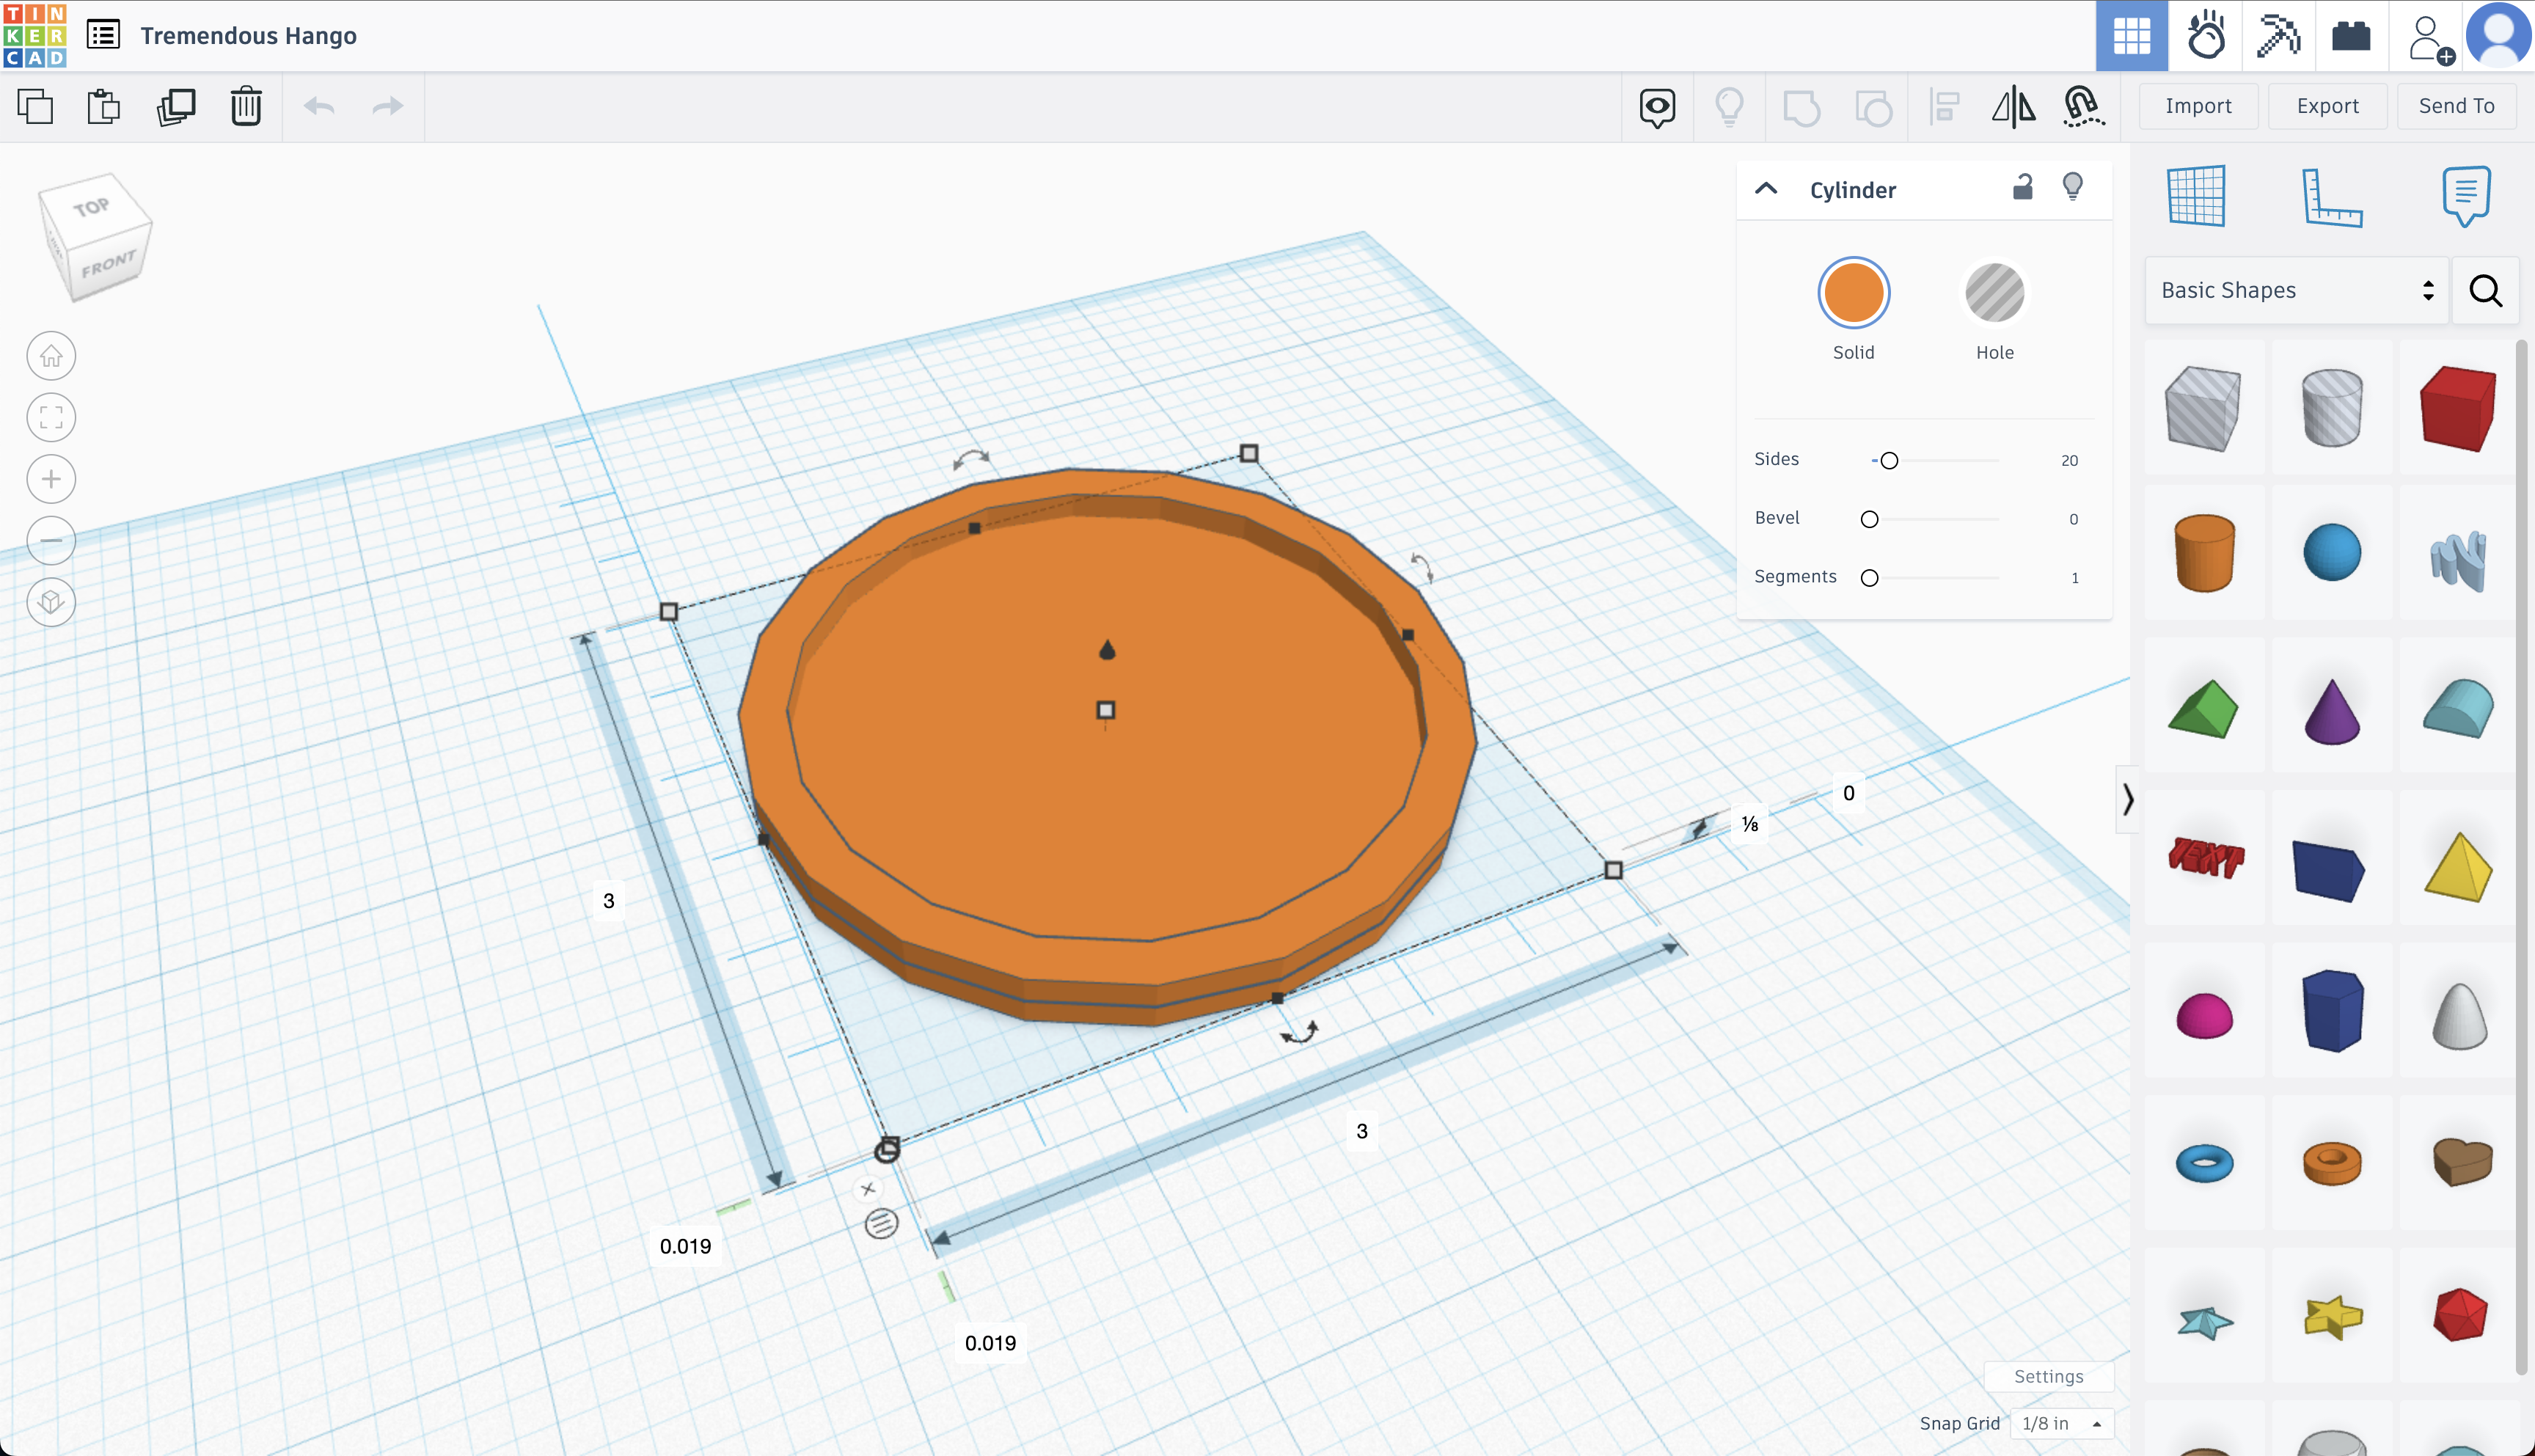
Creating a 3D model in TinkerCAD
Tinkercad instructions
L&L: Makers 101: 3D Modelling Intro (2023-02-16 12:03 GMT-6)
L&L: Makers 101: 3D modelling Part II (2023-05-18 12:03 GMT-5)
Keyboard shortcuts for Tinkercad
Export the STL file
Configuring PrusaSlicer
- In PrusaSlicer, go to Printer Settings.
- Scroll down to MK3 Family.
- Under “Original Prusa i3 MK3S & MK3S+” select 0.4 mm nozzle.
- Click Finish.

Import the STL file you exported from Tinkercad and make sure the correct printer is selected.
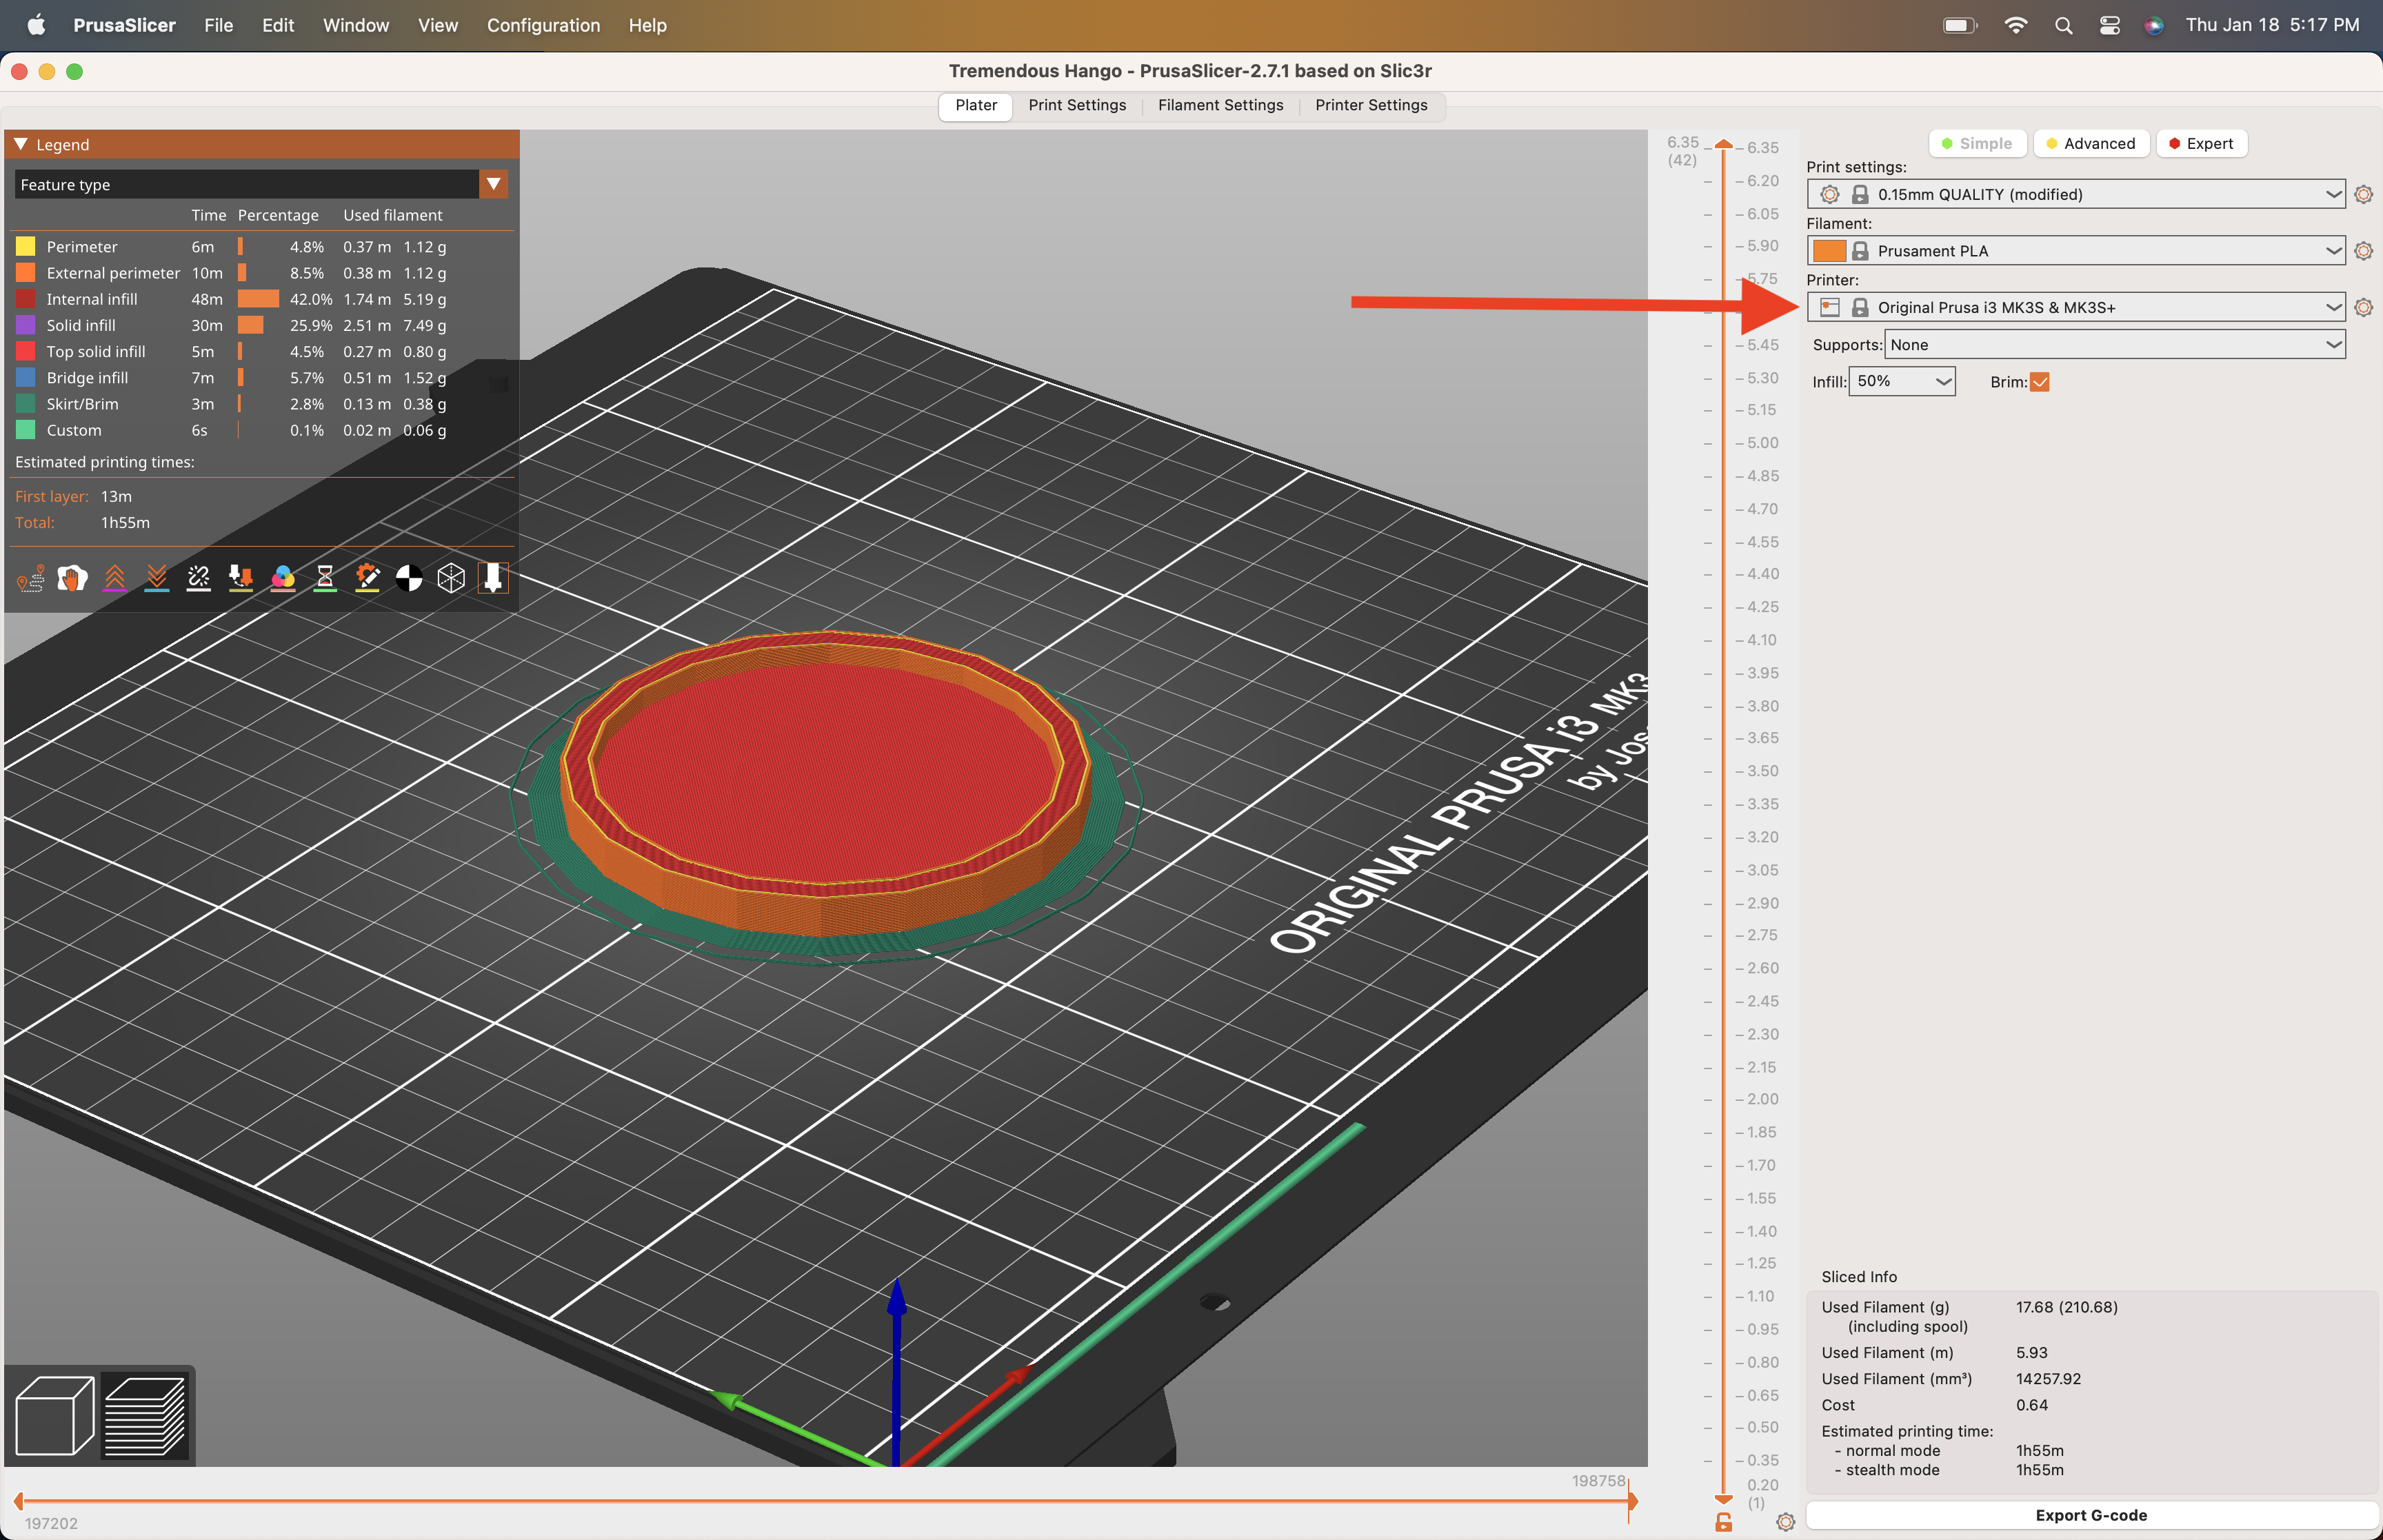
The two settings you probably will want to change are Infill and Brim. Once you’re ready, click “Slice now” and then “Export G-code”. The exported file you want to copy to the SD Card.
Starting the Printer
Select pre-heat and choose PLA.
Put the SD Card in the printer. Select the file you exported from PrusaSlicer.
Print!
You probably want to watch your print closely for the first few minutes to make sure it adheres correctly to the bed. If it doesn’t, stop the print, clean any plastic off the bed, and restart the print.
Troubleshooting
Sliced for a different printer continue?
If you get this warning, it means you have the wrong printer selected in PrusaSlicer when you exported the g-code. See the Configuring PrusaSlicer section.